
Which waterproofing membrane belongs behind your shower tile, a liquid or a sheet system?
If you are planning a shower remodel in Massachusetts, this is one of the few decisions that quietly determines whether your tile lasts for decades or fails in a few years. A waterproofing membrane is the hidden layer that keeps water out of your walls, subfloor, and framing, and both liquid and sheet systems can do that work well when they are installed to standard. The trouble starts when the wrong system is chosen for the space, or when the right system is installed poorly. In this guide you will learn how a liquid waterproofing membrane and a sheet waterproofing membrane each work, what each one costs, where each one performs best, and how to decide which waterproofing membrane fits your shower, your tile, and your budget.
Tile and grout are not waterproof on their own; water passes through grout joints and reaches whatever is behind the tile, so the membrane is what protects your home. For the full picture, see our complete shower waterproofing guide. Here, the focus is the choice most homeowners face: liquid versus sheet.
How a liquid waterproofing membrane works
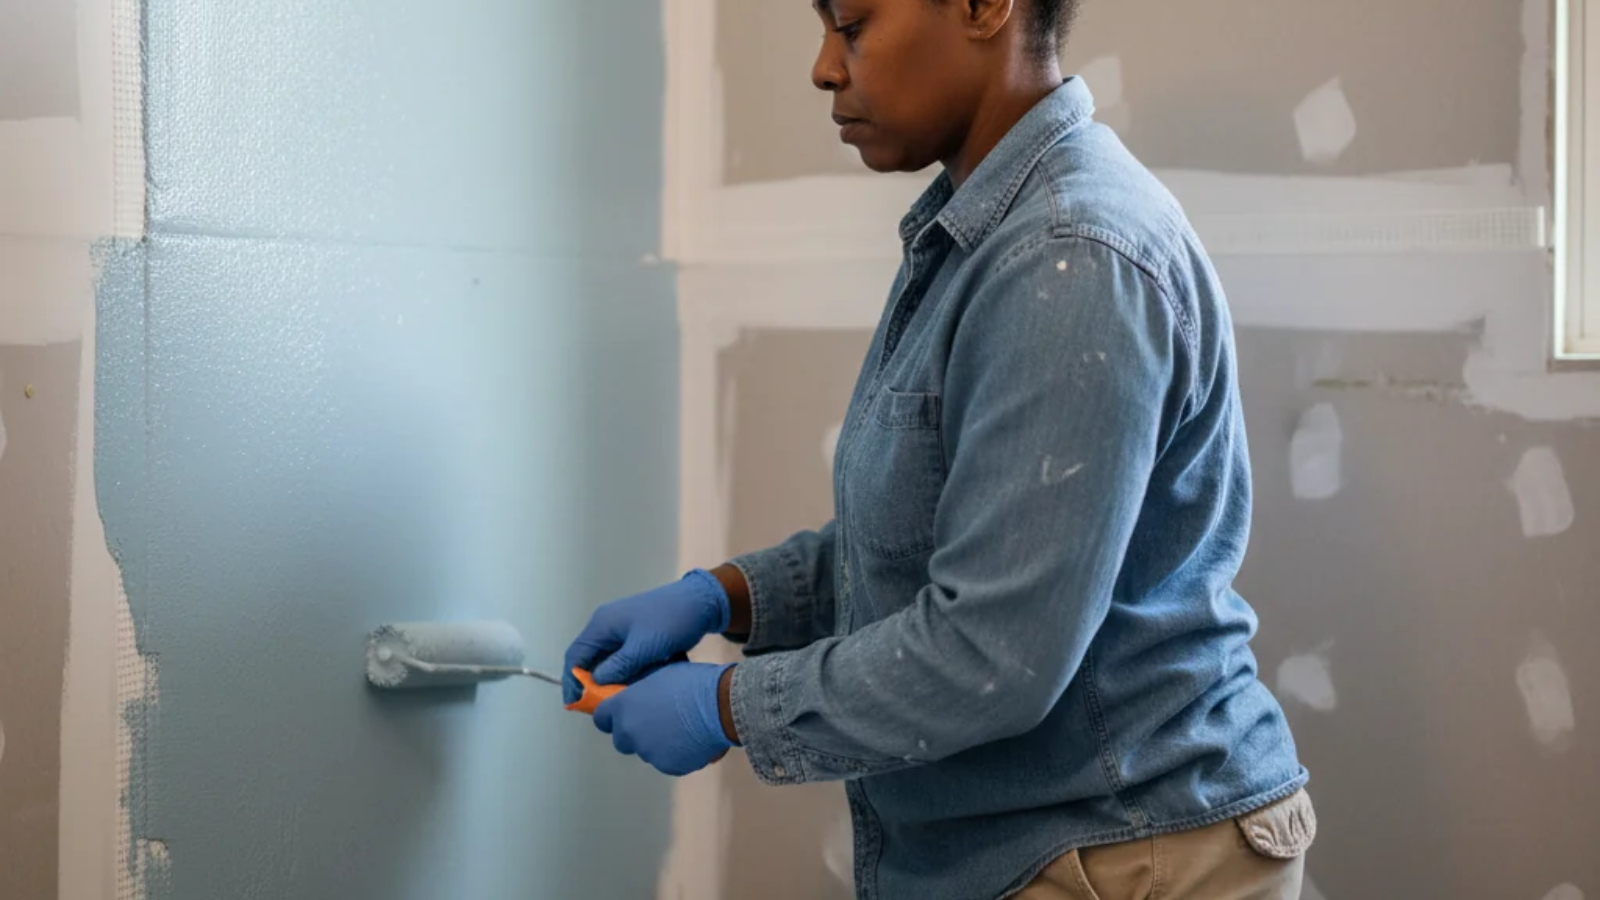
A liquid waterproofing membrane is a coating that you roll, brush, or trowel directly onto a prepared substrate. Once it cures, it forms a seamless, flexible barrier that bonds tightly to the surface and follows every corner, curb, and drain. Popular systems in this category are applied in two coats, often with a reinforcing fabric at changes of plane, and they are widely used for shower walls, floors, and benches.
The strength of a liquid waterproofing membrane is that it has no seams to fail. Because it is painted on, it conforms to niches, curved walls, and irregular layouts. Applied to the film thickness the manufacturer specifies, it forms a continuous barrier that meets the ANSI A118.10 standard for load-bearing, bonded waterproof membranes.
The catch is that a liquid waterproofing membrane depends heavily on the installer. Get the coats too thin, skip the reinforcing fabric at a seam, or tile before it fully cures, and the barrier can develop weak spots you will never see. Watch for these points with any liquid system:
- Film thickness has to be measured, not guessed; thin spots are the most common failure.
- Corners, the curb, and the wall-to-floor joint usually need reinforcing fabric or a fillet.
- Drain connections and pipe penetrations must be sealed to the membrane, not just around them.
- Cure time matters; tiling too early can trap solvents and soften the film.
- Every coat should be inspected before the next one goes on.
How a sheet waterproofing membrane works
A sheet waterproofing membrane is a factory-made sheet, usually a polyethylene or fabric-bonded material, that is set into a bed of thinset (the cement-based adhesive that bonds tile and membrane to the substrate). The sheets are cut to fit the walls and floor, overlapped at the seams, and sealed at corners, the curb, and the drain with matching preformed pieces. Bonded flange drains are designed to tie directly into these systems.
The advantage of a sheet waterproofing membrane is predictable thickness. The waterproofing layer is built into the product at the factory, so it does not rely on an installer hitting a wet-film target on site. That consistency is one reason many tile professionals trust it, and it follows the same TCNA and ANSI methods that govern liquid systems. You can review the underlying methods through the Tile Council of North America (TCNA), and the material performance requirements through the ANSI A108 and A118 tile installation standards.
A sheet waterproofing membrane is not automatically foolproof, though. Its performance lives and dies at the seams and transitions. A careful installer plans the layout so the sheets land correctly, and treats every joint by the book:
- Seams must overlap by the manufacturer’s specified amount and be fully bonded, with no air pockets or wrinkles.
- Inside and outside corners need preformed pieces, not improvised folds.
- The drain has to be a compatible bonded flange type, sealed to the sheet.
- The substrate underneath still needs to be flat and sound before anything is bonded.
- Penetrations for valves and the shower head require sealed collars.
Is a sheet waterproofing membrane always the better choice?
Not necessarily. You will read strong opinions on both sides, but the honest answer is that the best waterproofing membrane depends on your space, your substrate, your drain, and the person installing it. A sheet system removes some on-site variability, while a liquid system handles complex shapes more gracefully. Neither one is a magic guarantee; a poorly installed sheet membrane fails just as surely as a rushed liquid coat.
What matters more than the category is that the system is complete and continuous, tied correctly to the drain, and installed to the TCNA and ANSI standards. That is also why a proper flood test, letting the finished pan hold water before tile goes down, is worth every minute. A waterproofing membrane that passes a flood test has proven it does its work; one that was never tested is a hope, not a result.
Practical comparison: liquid vs sheet waterproofing membrane
Both systems can protect a shower for many years when installed correctly. Real service life depends far more on installation quality and maintenance than on the label, so the decision below is technical, not emotional.
A liquid waterproofing membrane makes sense when:
- Your shower has niches, benches, curves, or an irregular layout that sheets would struggle to wrap cleanly.
- You want a seamless barrier with no overlaps to plan around.
- Your installer is experienced with film-thickness control and reinforcing fabric.
- You are tiling small or detailed areas where cutting sheets would create many seams.
- The schedule allows full cure time before tiling begins.
A sheet waterproofing membrane makes sense when:
- You want the most predictable, inspectable thickness before tile goes on.
- The shower is a relatively standard rectangular layout with straightforward walls.
- You are using a compatible bonded flange drain designed for the system.
- You value being able to see and confirm the waterproof layer is continuous.
- You want to reduce reliance on on-site application technique.
Many strong showers combine both, for example a sheet membrane on the pan and a liquid product to seal a tricky niche. A skilled contractor fits the tool to the space. If you are weighing the overall build, our custom shower remodel guide covers how the pan, walls, and drain come together.
What to evaluate before you choose a waterproofing membrane
Before you commit, walk through these five factors. The right waterproofing membrane for your neighbor may be wrong for you, because it depends on the specifics of your space and how the shower is used.
1. Your shower’s size and layout
A simple rectangular shower is friendly to a sheet waterproofing membrane, because the panels lie flat with few seams. A shower with multiple niches, a bench, a curved wall, or a curbless entry often favors a liquid membrane that can wrap those shapes without complicated cuts. Layout is usually the first thing an experienced installer looks at, since it drives how many transitions the system has to handle and where the weak points would be.
2. The condition of the substrate
No waterproofing membrane can rescue a bad substrate. The backer board or mud bed underneath must be flat, sound, and properly fastened, and the floor cannot flex too much or the tile and grout will crack. If your subfloor needs work, that happens before any membrane goes on.
3. Water exposure (full shower vs splash zone)
Exposure changes the answer. A full shower enclosure, especially a curbless or steam shower, needs continuous waterproofing across the floor and up the walls to the required height. A splash zone behind a vanity or above a tub surround has different demands. Matching the waterproofing membrane to the real water exposure is one of the most common places do-it-yourself plans fall short.
4. Your budget and timeline
Sheet systems usually carry a higher material cost, while liquid systems can add labor time for multiple coats and cure periods. In practice, the membrane is a small share of a shower budget compared with tile, labor, and fixtures, so it rarely pays to cut it. Costs depend on scope and site conditions, and you can see how the pieces add up in our guide to overall bathroom remodel cost for Massachusetts homeowners.
5. Whether permits and Massachusetts code apply
If your project moves a drain, changes plumbing, or alters the structure, local permits and the Massachusetts State Building Code (780 CMR) may apply, and the requirements should be confirmed with your city or town before work begins. Converting a tub to a walk-in shower is a good example, since it usually touches the drain; our overview of converting a tub into a walk-in shower explains what that involves. When code or plumbing is in play, a professional keeps the project compliant.
The mistake of skipping a proper waterproofing membrane
The most expensive shower is the one that has to be torn out and rebuilt. When a waterproofing membrane is skipped, thinned out, or installed without sealing the drain and corners, water finds the gap. It soaks into the substrate and framing, often for months before anyone notices a stain. By then the fix is a rebuild.
Hidden moisture also feeds mold, which is a health concern as well as a building one. According to the U.S. EPA’s guidance on mold and moisture, controlling moisture is the key to controlling mold, so a sound waterproofing membrane is part of keeping a bathroom healthy. This is not a reason to panic; it is a reason to do the hidden work correctly the first time. Common consequences of a failed or missing membrane include:
- Loose or hollow-sounding tile as the substrate softens.
- Persistent musty odor and mold at grout lines or the ceiling below.
- Rotted framing or subfloor that turns a tile issue into a structural one.
- Staining on the ceiling of the room beneath the shower.
- A full tear-out that costs far more than the membrane ever would.
The organized way to avoid all of this is straightforward: choose the right system for the space, install it to standard, seal every transition, and flood test before tiling. If you would rather not gamble on something hidden behind the tile, you can request your free estimate and have the space assessed first.
Get your waterproofing membrane installed right with Le Rocha Tile
Le Rocha Tile is a licensed Massachusetts tile and remodeling specialist, and waterproofing is central to how we build showers that last. We do not push one product for every shower; we look at your layout, substrate, drain, and water exposure, then recommend the waterproofing membrane that actually fits your space and install it to the TCNA and ANSI methods. Here is why homeowners choose a professional installation for this hidden work:
- The system is matched to your shower, not to whatever is on the shelf, and installed to standard.
- Seams, corners, curbs, and the drain are sealed correctly, then flood tested before tile goes down.
- If plumbing or structure changes, we help keep the project aligned with local permits and Massachusetts code.
The right waterproofing membrane depends on your space, your subfloor, and how the shower will be used, and the responsible next step is to have it assessed rather than guessed. Text our team to reach us for a free estimate and we will help you choose the system that protects your home.
Waterproofing membrane FAQ
Is a liquid or sheet waterproofing membrane better for a shower?
Neither is universally better. A sheet waterproofing membrane offers predictable, inspectable thickness and suits standard layouts, while a liquid membrane is seamless and wraps niches and curves more easily. The right choice depends on your shower’s layout, substrate, drain, and installer. Both meet the same TCNA and ANSI standards, so a correct installation matters far more than the category you pick.
Which waterproofing membrane lasts longer?
Service life depends mostly on installation quality and maintenance, not just the product type. A well-installed sheet system often sits at the longer end of the range, and a liquid system slightly shorter, but a poorly installed version of either fails early. The most reliable way to extend the life of any waterproofing membrane is a correct, standards-based installation and a proper flood test before tile.
Do I still need a membrane if I use cement backer board?
Yes. Cement backer board is a stable substrate, but it is not waterproof on its own; water passes through it and reaches the framing. In a shower you still need a dedicated waterproofing layer, either a sheet or liquid membrane bonded over the board, or an integrated board system built for the purpose. Skipping that layer is one of the most common reasons tiled showers fail.
Can I install shower waterproofing myself?
A confident do-it-yourselfer can install some systems, but shower waterproofing is one area where small mistakes stay hidden until they are costly. Sealing the drain, treating corners, hitting the right film thickness, and running a flood test all take experience. Because the membrane protects your framing and the room below, most homeowners are better served having a professional handle it or at least inspect the work.
What standard covers waterproofing membranes?
Load-bearing, bonded waterproof membranes for tile are covered by the ANSI A118.10 standard, and installation methods are detailed in the TCNA Handbook. These references define how the membrane bonds, how thick it must be, and how it ties into the drain. Asking whether a system is installed to ANSI A118.10 and TCNA methods is a fair, direct question to put to any installer.
How much does shower waterproofing cost?
The membrane itself is usually a modest share of a shower budget, with sheet products costing more per square foot and liquid systems adding labor for coats and cure time. The total depends on scope and site conditions, including the size of the shower and whether the drain or substrate needs work. The most accurate way to price it is a free estimate based on your actual space.
Does a curbless shower change the waterproofing?
Yes. A curbless, zero-threshold shower spreads water across a larger area and often extends the wet zone into the surrounding floor, so the waterproofing has to reach farther and be tied carefully into a linear or point drain. Layout and slope become critical, which is why curbless designs usually benefit from a professional plan and a system chosen for that specific configuration.
Not sure which system your shower actually needs? Every bathroom is different, so the right waterproofing membrane depends on your subfloor, layout, and water exposure. Text us at +1 978-421-6468 to get your free estimate with Le Rocha Tile and find out what your space needs before it is hidden behind the tile.
Add a Comment